
Sink reglazing works the same way every honest surface renewal works: the existing surface is deeply cleaned, repaired, and etched until a new coating can bond to it permanently, then the poured finish is built in controlled coats and cured, with the sink’s small scale demanding more precision, not less. Here is the whole process in order, why each step exists, and what the small-surface version of the craft changes.
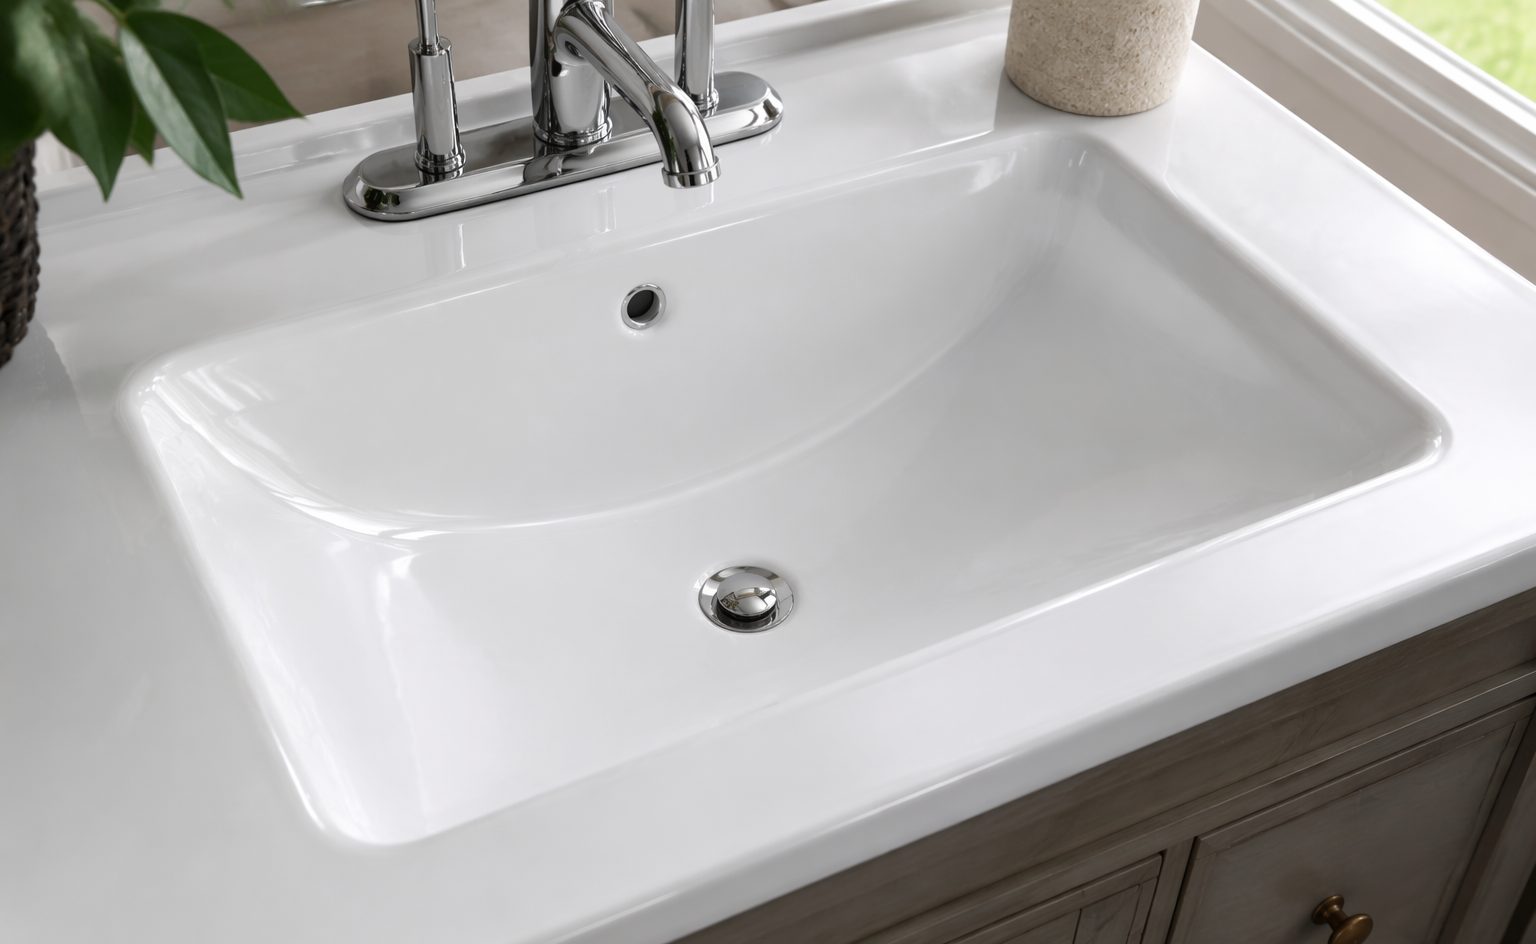
Step One: Photos and the Honest Read
Two photos start every sink: the whole basin from above and the worst damage close. They establish the material, the damage scope, whether a previous coating needs stripping, and whether anything disqualifies, rust eaten through rather than bloomed, a crack that flexes. Honest companies say no to the wrong sinks at this step, because coating over a structural problem fails on schedule.
Step Two: Masking the Working Zone
A sink sits inside the most valuable square feet in the house: the counter it is set into, the faucet above it, the cabinets below. Masking seals all of it before any chemistry opens, the faucet and hardware wrapped, the counter papered wide, the cabinet faces protected, and ventilation set up and managed by the crew. On a small surface the masking takes nearly as long as it does on a tub, and it should.
Step Three: Industrial Cleaning and Degreasing
Kitchen sinks carry the heaviest residue load in the trade: grease, soap film, mineral deposits from hard Los Angeles water, and silicone from years of products. All of it repels coatings invisibly, so industrial degreasers and deliberate silicone treatment do what dish soap spent a decade not doing. A coating bonds to what it actually touches, and this step decides what that is.
Step Four: Repairs Before Coating, Always
- Chips at the basin floor filled and rebuilt to the surface line
- Rust at the drain and overflow treated at its source, never sealed over
- Qualifying cracks repaired and stabilized
- Any previous coating stripped completely off
Every early failure story in this trade traces to this step being skipped, and on sinks the drain area is where the skipping shows first. The full damage picture is at fixing a chipped, cracked, or rusted sink.
Step Five: Etching the Surface
The old glossy enamel gives a new coating nothing to hold, so the surface is mechanically etched into a profile the coating keys into. It is invisible in every after photo and responsible for more of the finish’s lifespan than anything else on this page.
Step Six: The Coating
The finish goes on as a poured, durable coating in controlled coats, not a rattle-can mist, building to a smooth, glossy basin in the color chosen at the quote. Under our 24-Hour Spa Shell Transformation Method the transformation completes inside a 24 hour work window, masking through final coat, and on a sink the coats demand steadier hands than a tub does, because every inch of a small basin sits in the eye’s foreground.
Step Seven: The 48 Hour Cure
The finish cures for 48 hours after the final coat before the sink returns to service, and the window is chemistry, not caution: water or scrubbing during the cure interrupts hardening that does not restart. Households plan two days of dish triage at another basin, and the kitchen sink comes back permanent.
Step Eight: The Seam, Sealed Last
Where the sink meets the counter, fresh sealing finishes the job after the cure, against the finished surface rather than under it. If your project includes the counter itself, the seam simply becomes interior to a larger renewal, and the combined format is usually the better buy.
What Changes by Material
Porcelain enamel over cast iron carries the rust-at-chips story and rewards the repair stage; enameled steel flexes slightly and asks for its own preparation touch; integrated bathroom units where basin and counter are one piece are treated as one surface. Asking any company how they prepare your specific material remains the fastest sort of specialists from generalists.
What You Should See at the End
A uniform, glossy basin with the chips gone, the rust story ended at its source, the stains gone because the porous surface they lived in is gone, and a seam sealed clean against the counter. The before and after gallery carries kitchen sinks that looked disqualified in the morning and photographed like showroom pieces by night.
The Questions That Test Any Refinisher
How do you degrease and treat for silicone, what do you repair before coating and is it in the price, what happens when you find rust, and exactly how many hours from final coat to first use. This page is the scorecard; a company that cannot walk its own version of these steps is describing work it does not do, and the wider vetting method is at how to choose the right bathroom renovation company.
Where the Hours Go on a Sink
The proportions mirror every honest renewal: preparation and repairs dominate the visit, and the coating everyone pictures is the short final act. A sink’s small footprint tempts fast operators to compress the front of that sequence, which is exactly why the drain ring is where cheap sink work announces itself a year later; the surface area shrank, the chemistry did not.
The Faucet Stays, and Why That Matters
The renewal works around the faucet and hardware, masked and protected, never disconnected, which is a quiet advantage over replacement: no plumbing visit rides the project, no supply-line surprises, and the kitchen’s water works the whole time everywhere except the basin itself. The sink returns to service after the cure with everything exactly as connected as it was.
Integrated Vanity Units, the One Format Note
Bathroom units where the basin and counter are molded as one piece renew as one surface, basin and deck in the same coats, which is the correct treatment and the better look. The quote simply prices the full surface, and the format is worth naming in your message so the reply matches the piece in your photos.
What the Homeowner Does, All of It
Empty the sink and the counter beside it, clear under-sink storage if the crew requests access, and plan two days of dishes at another basin after the final coat. No pre-cleaning, no caulk removal, no preparation beyond clearing; the preparation is the product, and it starts from the surface exactly as it lives.
Both Rooms, One Craft
Everything above serves the kitchen basin and the bathroom vanity identically; the rooms change the masking logistics and the damage patterns, never the sequence. The kitchen’s harder service life simply spends more of the visit in the repair stage, which is where hard-working sinks earn their renewal.
Why Small Surfaces Punish Shortcuts Hardest
A tub hides a thin spot in its acreage; a sink puts every square inch at reading distance under task lighting. That is the whole small-surface doctrine: the same steps, executed with tighter tolerances, because the basin is the one finish in the house the household inspects daily without meaning to.
How Long Before I Can Use a Reglazed Sink?
The finish cures for 48 hours after the final coat before the sink returns to service. The work itself is one scheduled visit, and the rest of the kitchen or bathroom stays usable throughout, so what you plan around is running water in that one basin for two days.
Sinks concentrate everything a surface dislikes into a small area: constant water, standing water at the drain, dropped objects, and daily cleaning. That is exactly why the cure window is not negotiable on a basin. Running water on a finish that has not reached hardness is the single most common way a good sink job is spoiled by the household rather than by the crew. Households with a second sink barely notice; single-sink kitchens usually schedule the visit early in the week and use paper plates for two days.
Starting Yours
Two photos through our free quote page or a call to (818) 858-1150, and the reply covers the process above as it applies to your sink, with the number attached. The kitchen-specific story is at kitchen sink reglazing, the cost anatomy at sink reglazing cost in Los Angeles, and the whole service at sink reglazing.