
Bathtub reglazing works by preparing the existing surface until a new coating can permanently bond to it: cleaning, repairing, and etching the old finish, then spraying on a durable coating that cures into the tub’s new surface. Every step exists to serve that bond, and the order of the steps is the difference between a finish that lasts a decade and one that peels at the drain in a year. Here is the whole process, in the order it happens.
JLF Tub & Tile Reglazing Site Map
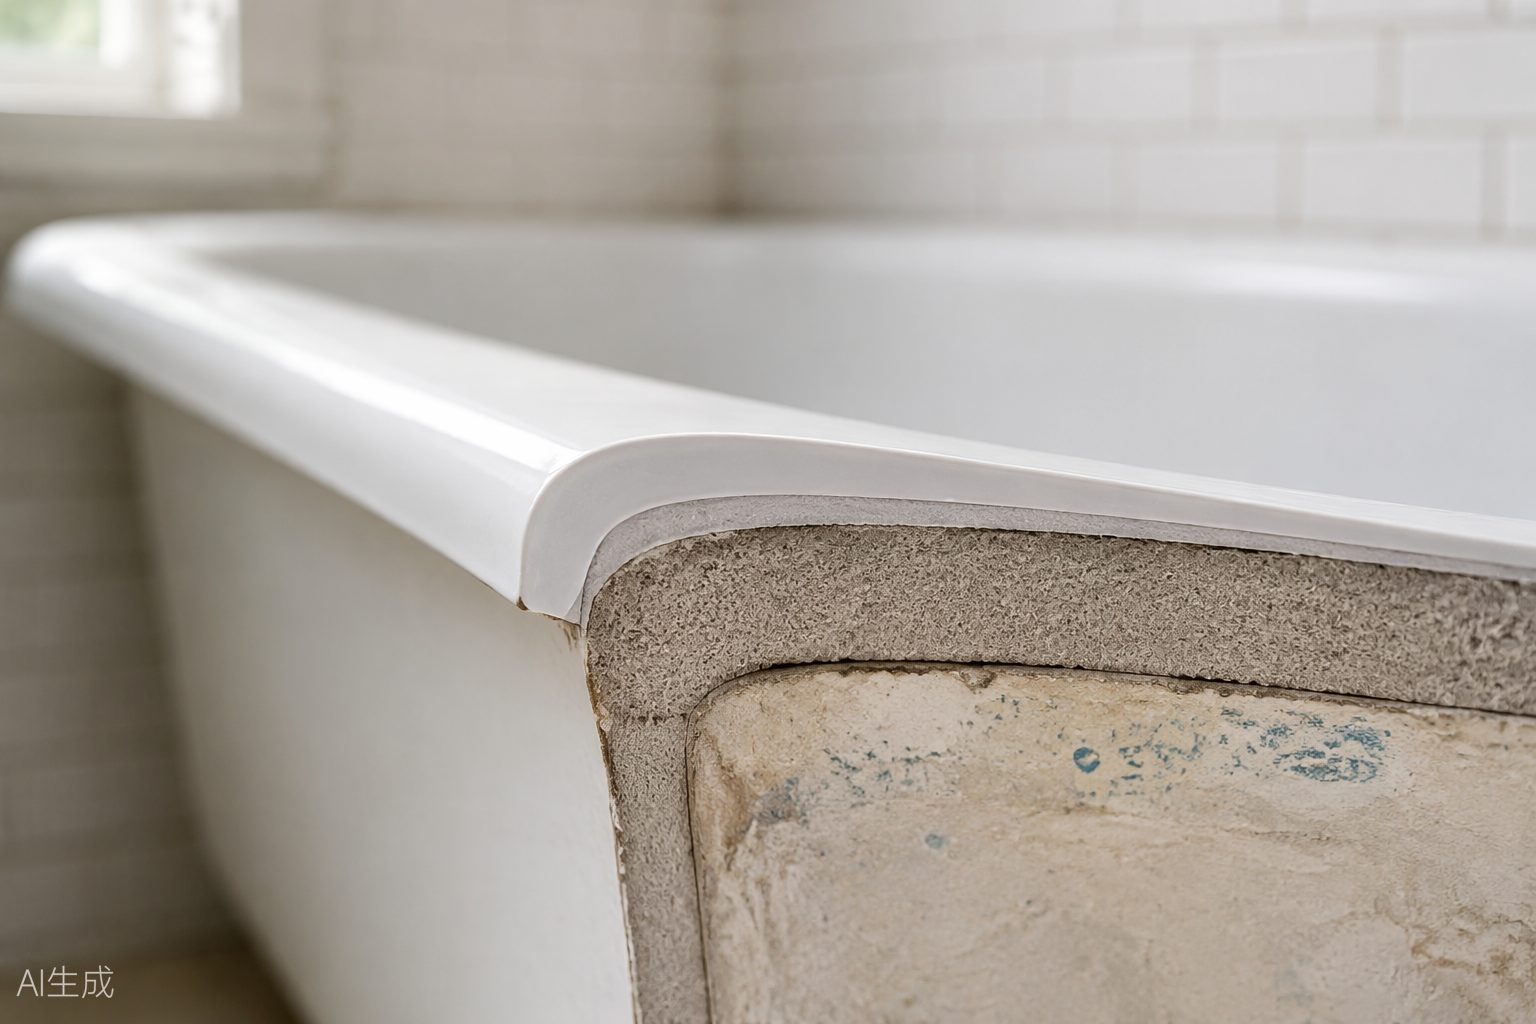
Step One: Assessment From Your Photos
The job starts before anyone visits: photos of the whole tub and the worst areas up close establish the material, the damage, and whether anything structural needs a different trade first. Honest companies disqualify the wrong tubs at this step, cracks that flex, active leaks, rust-through, because coating over a moving structure fails no matter how well the rest is done.
Step Two: Protecting the Room
On work day, the bathroom is masked and sealed: fixtures, drain, floors, and the path in are protected, and ventilation is set up and managed by the crew for the duration. A professional reglaze should leave no evidence in your home except the tub, and the masking is where that promise is kept.
Step Three: Deep Cleaning and Degreasing
Years of soap film, body oils, and silicone residue are the enemies of adhesion, and they are invisible when they win. Industrial cleaners and degreasers remove what household cleaning never touches, because a coating bonds to the surface it actually meets, and if that surface is a molecule-thin film of soap, the coating is bonded to soap.
Step Four: Repairs Before Coating, Always
- Chips are filled and rebuilt to the surface line
- Rust is treated at its source, never sealed under the new finish
- Cracks are repaired and stabilized where they qualify
- Old failed coatings are stripped completely off
This order is the honesty test of the whole trade: damage repaired first disappears; damage coated over becomes the exact spot where the new finish fails. When a finish peels early, this step was usually skipped or rushed.
Step Five: Etching the Surface
A glossy old surface gives a new coating nothing to hold. Etching changes that at the microscopic level, turning the slick finish into a profile the coating can key into. It is unglamorous, invisible in the after photos, and responsible for more of the finish’s lifespan than any other single step.
Step Six: The Coating Itself
What goes on is a durable, professional-grade coating sprayed on in controlled coats, not the hardware-store paint of a weekend kit. Under our 24-Hour Spa Shell Transformation Method, the transformation of your surface completes inside a 24 hour work window: masking through final coat in a day. The material builds to a smooth, glossy, uniform surface that reads as a new tub.
Step Seven: The 24 Hour Cure
The finish then cures for 24 hours after the final coat before regular use, and this window is not negotiable chemistry: the coating is hardening into its final durability, and early water or weight interrupts it permanently. We state the cure plainly because rushing it is the fastest way to ruin good work, and companies vague about cure times are telling you something.
Step Eight: Caulk, Last
Fresh caulk goes on after the cure, sealing the tub-to-wall seam against the finished surface. If your bathroom has other small projects planned, they should happen before reglazing, and caulk is never one of them, since the old bead is removed during preparation anyway.
Why the Same Steps Feel Different by Material
The sequence holds across every tub, but the preparation chemistry changes by surface: porcelain and cast iron carry enamel over metal with rust to manage at chips, fiberglass asks for flex-aware preparation, and acrylic is the most chemistry-sensitive surface in the trade. Asking a company how they prepare your specific material is one of the fastest ways to sort specialists from generalists.
Where the Hours Actually Go
Watching the day, the proportions surprise people: most of the work window is preparation, and the coating everyone pictures is the short final act. That ratio is the trade’s entire quality story. Companies compress the day by compressing preparation, never by applying coats faster, which is why asking how long a company spends before any coating goes on is such a revealing question.
Questions That Test Any Company’s Process
Ask how they degrease and etch, in concrete steps. Ask what they repair before coating and whether it is in the price. Ask what they do when they find rust. Ask the exact hours from final coat to first bath. Every answer above appears in this post, which makes it a scorecard: a company that cannot walk its own version of these steps is describing work it does not do.
What Stays in Your Home Afterward
Nothing but the tub. Masking comes down, ventilation equipment leaves, the room is cleaned, and any temporary protection is removed the same day. Written care instructions and the warranty terms should be in your hands before the crew is out of the driveway, and the finish itself is the only evidence the day happened.
What You See When It Is Done
A uniform, glossy surface with the chips gone, the stains gone because the surface they lived in is gone, and the color you chose, matched or deliberately changed. The before and after gallery shows the range honestly, including tubs that looked past saving on the morning of the job.
Where the Process Ends and Care Begins
After the cure, the finish asks only for a gentle routine, and the specifics live at bathtub reglazing aftercare: the right cleaners, the habits that protect gloss, and the early signs worth photographing. A properly done reglaze plus reasonable care is a decade-scale surface.
The Steps You Should See on Work Day
The homeowner’s view of a properly run day has its own checklist: the room masked before any chemistry opens, ventilation running for the duration, repair work visibly happening before any coating appears, and a crew that states the cure schedule without being asked. If work day looks like a person with a spray can and a drop cloth moving fast, the process on this page is not the process being sold, whatever the invoice calls it.
Why This Process Wins Against Replacement Week
The same renewal by demolition means a construction sequence: tear-out, disposal, plumbing, a new tub through your hallways, installation, tile repair, and painting, coordinated across trades and weeks of a bathroom you cannot use. The reglazing process above compresses the outcome into a day of work and a 24 hour cure precisely because it renews the surface instead of replacing the object under it, and that compression is most of the service’s value.
One Process, Every Surface in the Room
The same prepare-repair-etch-coat logic renews tile surrounds, countertops, and sinks, which is why whole-bathroom projects consolidate so naturally into one visit and one cure instead of a season of separate appointments.
Starting Yours
The process starts with the same two photos every time, through our free quote page or a call to (818) 858-1150: your tub, your damage, and an honest read on what the steps above will involve for your bathroom, including what the number will be and why. The cost side of the same story is at bathtub reglazing cost in Los Angeles.