
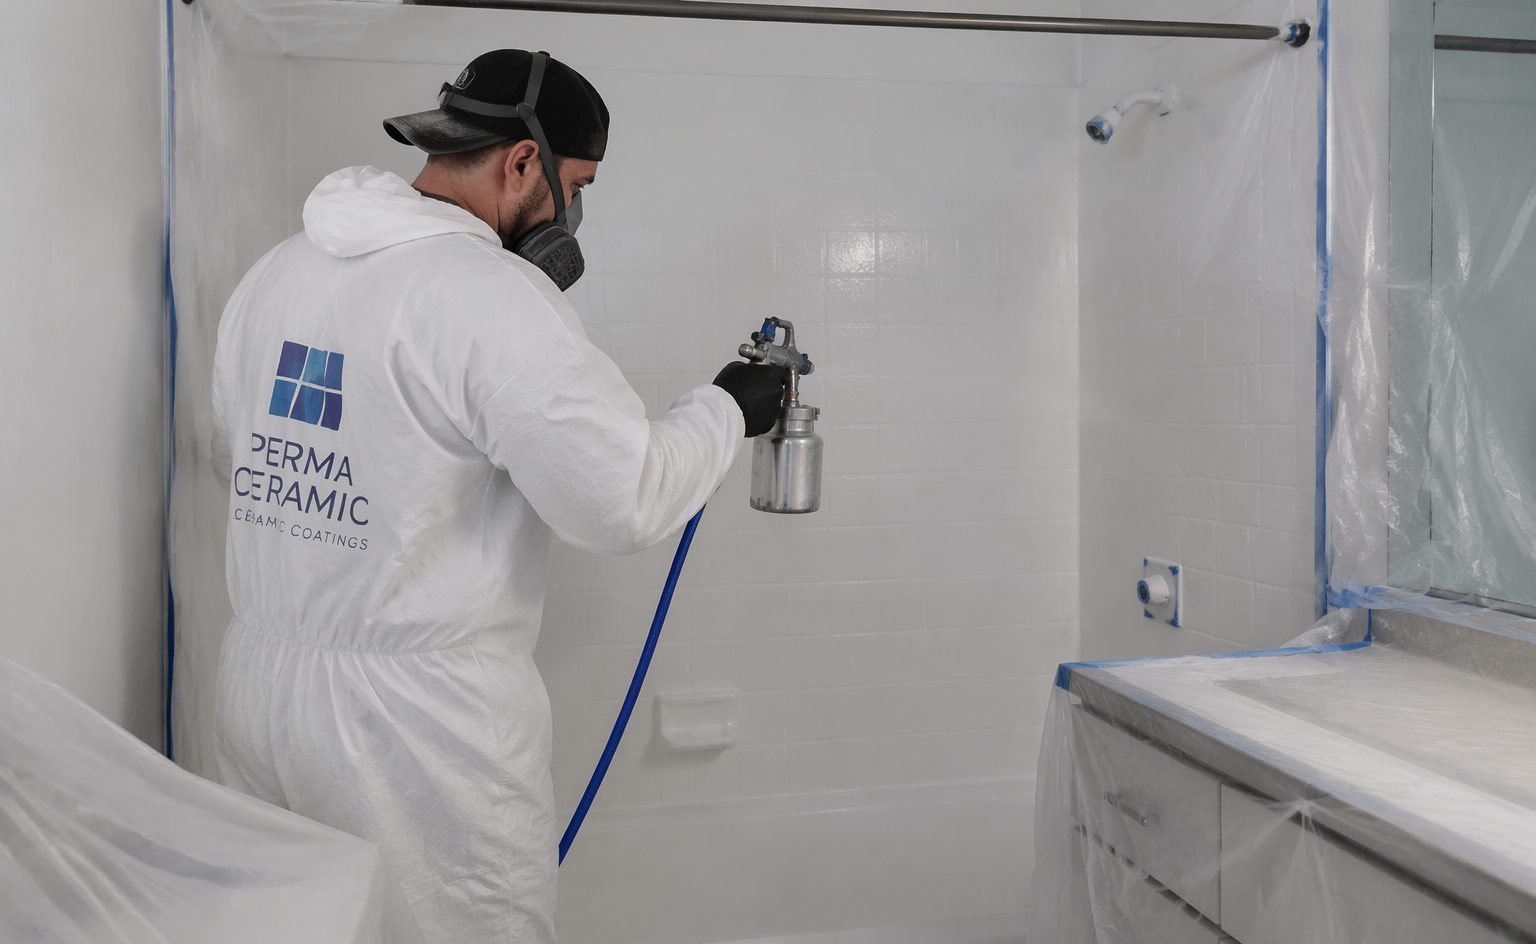
Professional tile refinishing works in seven steps: we read the surface, mask the room, deep clean the glaze, make repairs, etch for adhesion, apply the coating system, and protect a 24 hour cure. Every one of those steps exists because skipping it shows up later as a failure you can see. This is what actually happens when our crew refinishes tile in a Los Angeles home, in the order it happens, and why each stage takes the time it takes.
The 7 Steps of Professional Tile Refinishing
The process is the same whether the tile is on a shower wall, a bathroom floor, or a kitchen surround. What changes is how long each step takes, which depends on the condition we find.
- Read the surface and confirm the tile is a candidate
- Mask and contain the work area
- Deep clean until the glaze is chemically bare
- Repair chips, cracks, and loose spots
- Etch the surface so the new coating can bond
- Apply the coating system in controlled coats
- Protect the cure for a full 24 hours after the final coat
Reading the Tile Before Any Work Starts
The first step happens before a single tool comes out. We inspect the tile itself, the grout lines, and the substrate behind them. Sound tile with cosmetic problems, staining, dullness, dated color, surface wear, is exactly what refinishing was made for. Tile that moves when pressed, grout that has gone soft, or any sign of water getting behind the wall means the problem is structural, and a new finish would only hide it. In those cases we say so and point you to the right trade first.
Grout gets its own read. Stained but intact grout lines refinish beautifully, because the coating seals them into the same cleanable plane as the tile. Grout that is failing needs attention before any coating goes on. If your grout is the main complaint, our guide to fixing dirty grout and moldy tile walks through how we tell staining from failure.
Masking and Containment: Protecting Everything We Are Not Refinishing
Refinishing happens inside a finished home, so protection is not a courtesy, it is part of the craft. We mask every adjacent surface: fixtures, glass, cabinetry, flooring, and walls. Plastic sheeting closes off the work zone, and directed ventilation moves air out of the room for the duration of the spray work. A well masked bathroom looks almost surgical before the first coat goes on, and that is the point. The finish should be the only thing that changes.
The Deep Clean: Why the Glaze Must Be Chemically Bare
Years of soap film, body oils, hard water minerals, and cleaning product residue sit on tile even when it looks clean. A coating applied over any of that is a coating applied to the residue, not to the tile. We clean in stages with dedicated compounds, rinse, and clean again until the surface squeaks. On kitchen tile the enemy is grease instead of soap film, and the degreasing stage runs longer. This step is invisible in the finished result, which is exactly how you know it was done right.
Repairs: Chips, Cracks, and Loose Tile
Chips get filled and shaped flush. Hairline cracks get stabilized. A loose tile, if the field around it is sound, gets reset before anything else happens. The repair stage is where a refinished surface earns its uniform look, because the coating follows whatever is under it. A filled chip disappears under the new finish. An unfilled chip becomes a permanent shadow.
Etching: Where the Bond Is Won or Lost
Glazed tile is designed to shed things, which is wonderful in a shower and a problem for a coating. Etching changes that. We treat the glaze so it gives the new material a mechanical and chemical grip, the same principle that decides why reglazed surfaces peel when this stage is rushed or skipped. Etching is the least visible step in the whole process and the one most responsible for how long the finish lasts. It is also the step most often shortened by low bidders, which is why two quotes for the same room can describe two very different jobs.
The Coats and the 24 Hour Cure
The coating system goes on in controlled passes, each one flashed off before the next. The final surface builds gradually into a smooth, glossy, uniform finish. Then comes the part that requires nothing from us and discipline from everyone: the cure. The finish needs a full 24 hours after the final coat before the surface is used or gets wet. Plenty of companies advertise faster. We schedule around the honest number instead, because the cure is when the coating develops the hardness that determines how long refinished tile lasts. Rushing it trades years of service life for one convenient day.
How the Process Changes in a Kitchen
Kitchen tile follows the same seven steps with three differences. Degreasing replaces soap film removal and takes longer, because cooking residue bonds harder than bathroom residue. Masking expands to protect countertops, appliances, and open shelving. And scheduling matters more, since a kitchen out of service affects the whole household. We plan kitchen work so the room is usable outside the spray window and the cure clock starts as early in the day as possible.
What We Do Not Do During Tile Refinishing
We do not coat over failing grout or active moisture problems and call it solved. We do not refinish tile that fails the inspection just because the appointment was booked. We do not skip masking to save an hour, and we do not hand the room back early to make a schedule look good. Each of those shortcuts produces a job that photographs well on day one and fails early, and every one of them is invisible in a quote. Asking a company what it will not do tells you more than asking what it will.
Where the Time Actually Goes
People expect the spraying to be the job. In practice, preparation is most of the visit. On a typical shower surround, reading and masking take the first stretch of the morning, cleaning and repairs carry through midday, etching follows, and the coats themselves are the shortest stage of the day. The finish you see is a thin, glossy fraction of the work. Everything under it is why it stays.
Can You Refinish Tile Floors?
Some tile floors can be refinished and some should not be, so we evaluate each floor rather than promising every floor. Foot traffic, standing water, and the condition of the tile and grout decide it. A sound floor in a low moisture room refinishes well. A failing floor needs repair first.
When a floor passes the inspection, the process above applies with a floor grade coating and a stricter cure, since nothing tests a finish like being walked on. When it does not pass, we say so during the reading step, before any money changes hands.
Ready to See the Process on Your Tile?
The best way to know whether your tile is a candidate is the first step of the process itself: a reading. Our team looks at your Los Angeles ceramic tile refinishing project, tells you honestly what refinishing will and will not solve, and schedules the work around the true 24 hour cure. JLF Tub and Tile Reglazing serves residential and commercial properties throughout the LA metropolitan area and Simi Valley, California. Call (818) 858-1150 to get started.